What is Protein? The Complete Guide to the Most Important Macronutrient
Protein explained simply: what it is, why it matters, how much you need, and the best sources. Your complete guide to the most important macronutrient.
 Dr. Michael Torres
 Evidence-Based Nutrition Tools
Personalized protein, carbohydrate, and fat targets based on peer-reviewed research. Used by 50,000+ people to reach their nutrition goals.
Free tools and guides built on validated research, not trends.
Calculate your daily protein, carbohydrate, and fat targets using the Mifflin-St Jeor equation — the gold standard for estimating calorie needs.
Learn the fundamentals of macronutrients, how they impact your body, and how to apply them to your specific goals.
Additional nutrition and fitness tools to support your goals
Estimate your maximum lift capacity for any exercise. Essential for programming strength training.
Calculate 1RM →Calculate macros for any meal or recipe. Perfect for meal planning and prep.
Calculate meal macros →Find out how many calories you burn walking based on distance, pace, and weight.
Calculate calories →We use scientifically validated formulas to calculate your nutritional needs.
Using the Mifflin-St Jeor equation (or Katch-McArdle if body fat % is known) to estimate calories burned at rest.
Your total daily energy expenditure (TDEE) is calculated by applying validated activity multipliers.
Whether cutting, bulking, or maintaining — we adjust calories based on evidence-based deficit/surplus ranges.
Protein, carbs, and fats are allocated based on your goal, experience level, and dietary preferences.
Our calculations are based on peer-reviewed studies, including the Mifflin-St Jeor equation and established macro distribution research.
We don't sell supplements, meal plans, or coaching. This site exists solely to provide free, unbiased nutritional information.
We cite our sources, explain our formulas, and show our work. Every calculation can be verified independently.
Content is reviewed as new research emerges. Every article displays its last update date for accountability.
Evidence-based articles to help you understand and apply macronutrient science.

Protein explained simply: what it is, why it matters, how much you need, and the best sources. Your complete guide to the most important macronutrient.
Dr. Michael Torres 
New to counting macros? This guide walks you through everything step-by-step — from calculating macros to surviving your first week.
 Jessica Williams
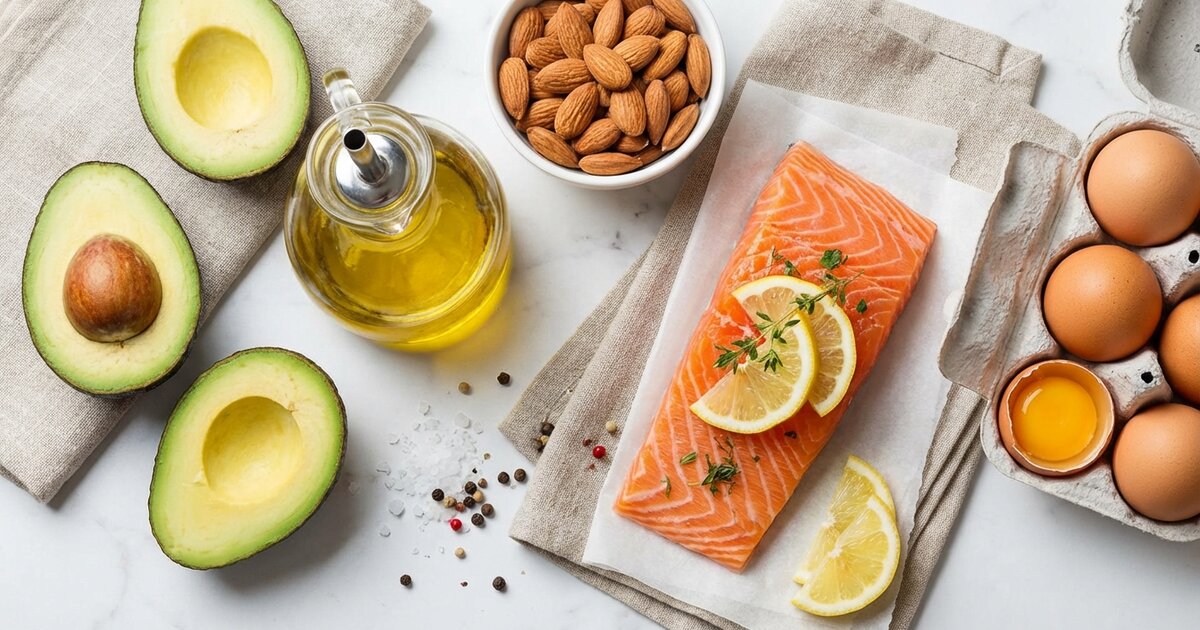
Which fats are healthy? This guide explains good fats vs bad fats, how much you need, and the best sources for your health and fitness goals.
 Sarah Chen
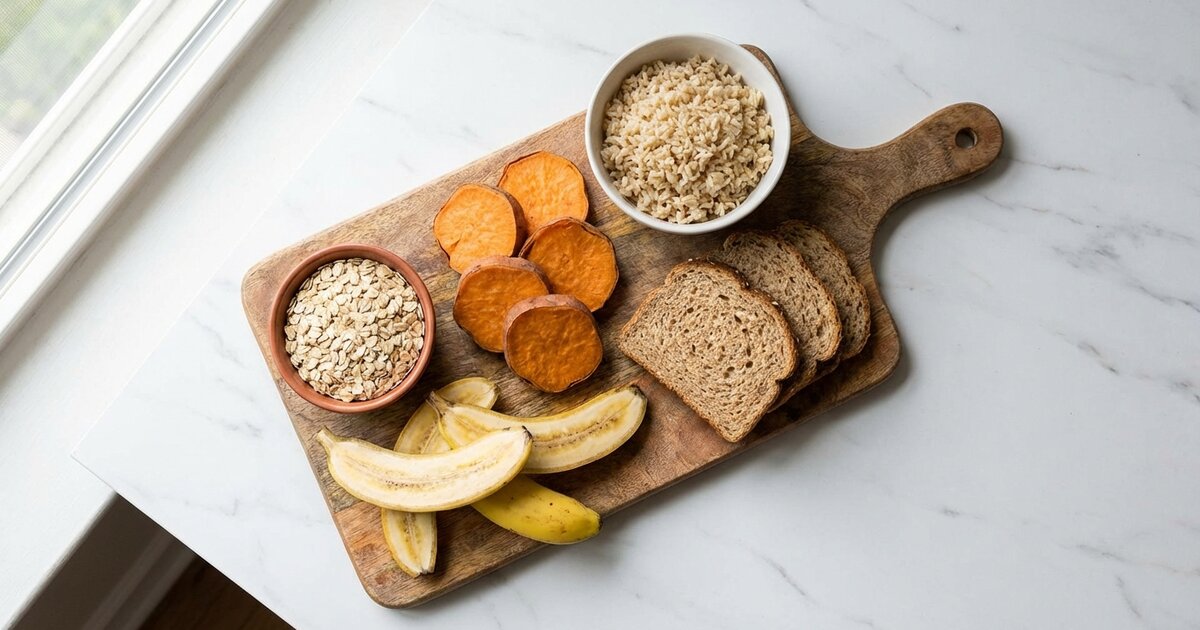
Confused about carbs? This guide explains what carbohydrates are, simple vs complex carbs, how many you need, and the best sources for your goals.
Dr. Michael Torres 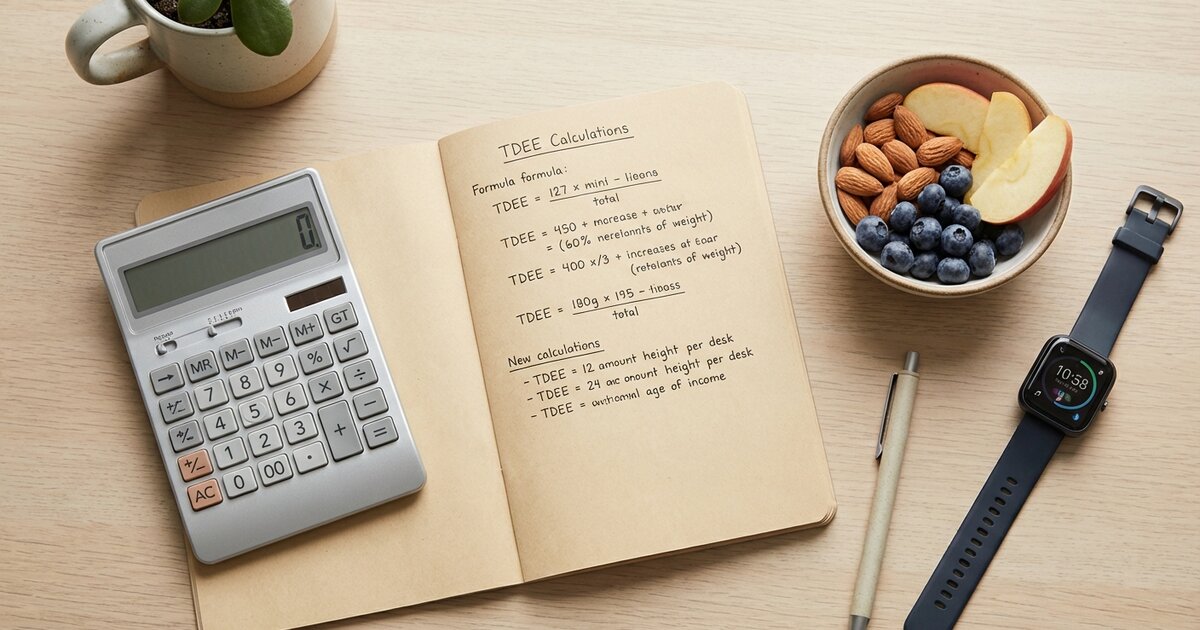
What is TDEE and how do you calculate it? This guide explains total daily energy expenditure, how to find your number, and how to use it for weight loss...
Dr. Michael Torres 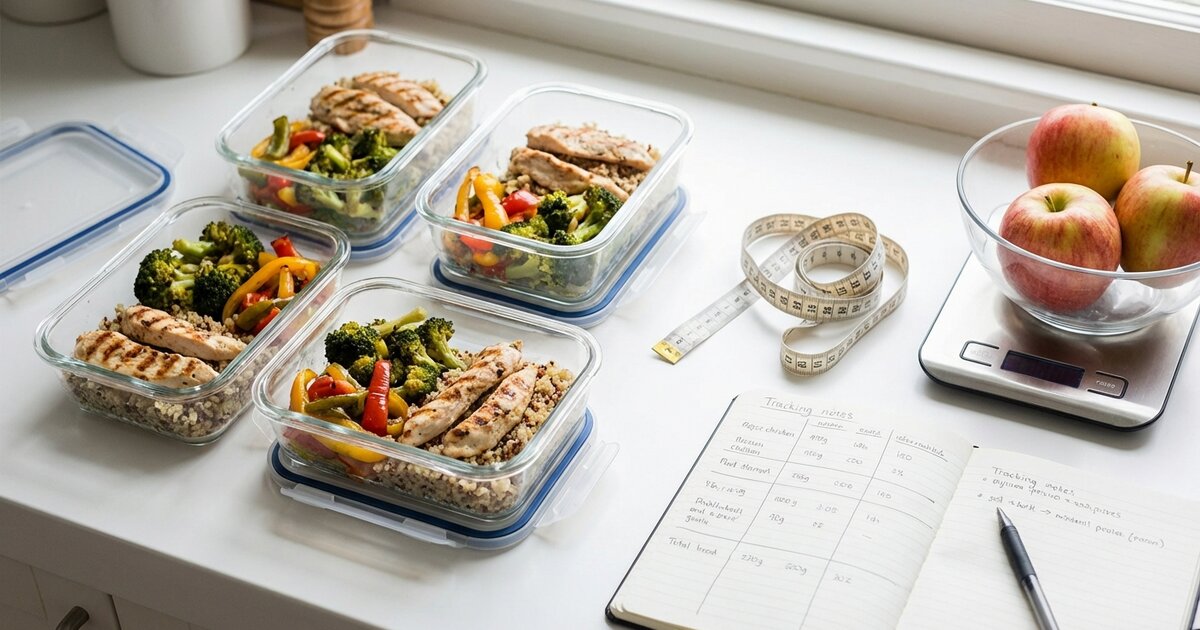
Find the best macro ratio for fat loss based on your body type, activity level, and goals. Proven protein, carb, and fat splits that work.
Sarah Chen Get personalized targets in under 60 seconds. No email required.
Start Calculator